
Step 1
Step 2
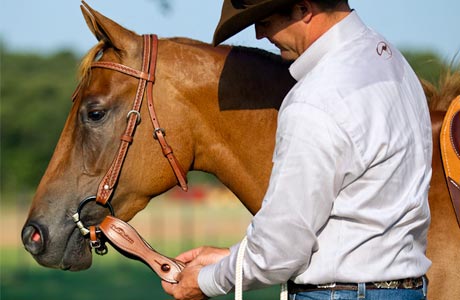
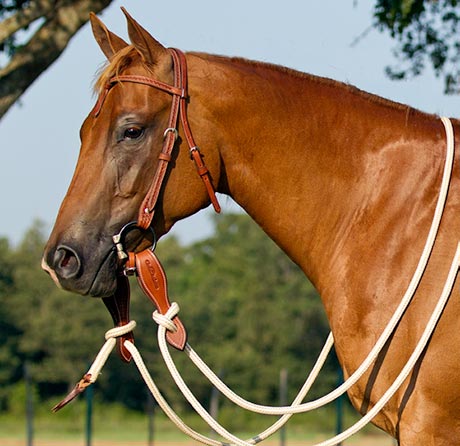
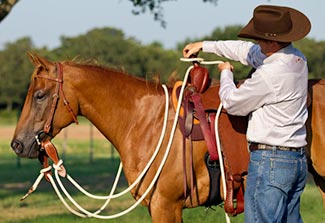
STEP 1: With shiny side of slobber straps to the outside, fold and put straps through snaffle rings. Clinton Anderson logos should be facing to the outside
STEP 2: Standing with the front of the snaffle bit facing away from you, take the thin popper end of the rope and thread from left to right, through all four slobber strap holes so that there is approximately 6 inches of rope hanging past the right slobber strap. The mouthpiece of the bit should curve away from you when positioned correctly.

Step 3a
Step 3c
Step 3b
Step 3d
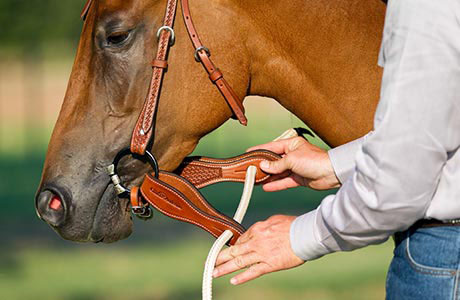
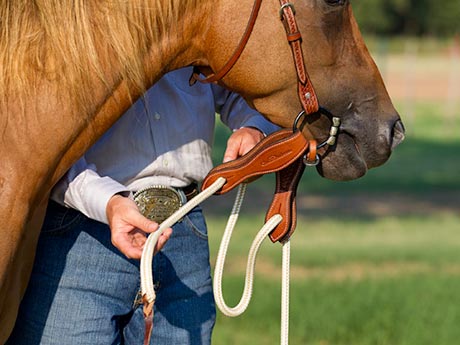
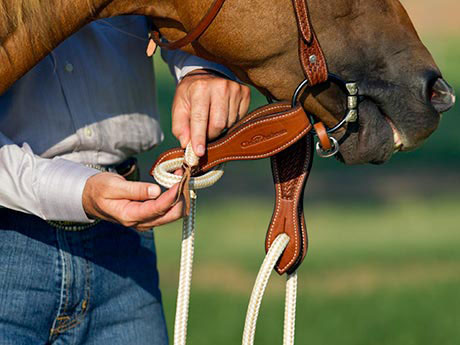
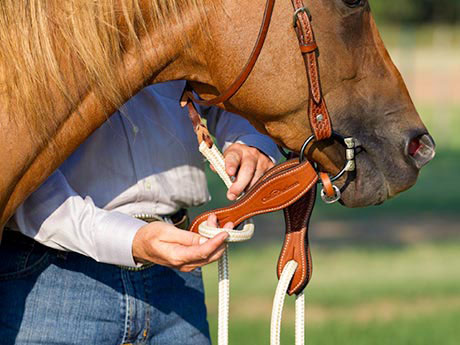
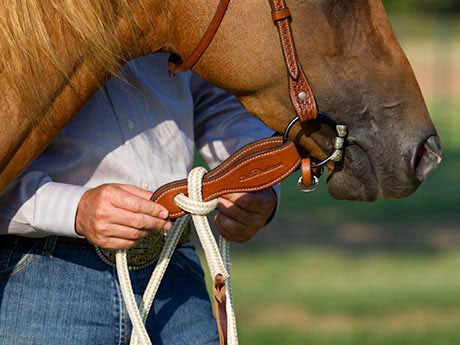
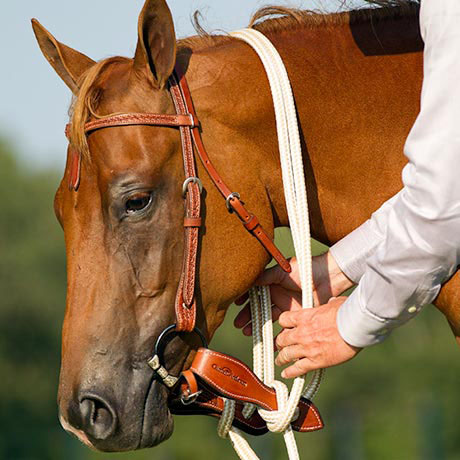
STEP 3: Form a half-hitch with the right rein around the right slobber strap.
Take the rein on the outside of slobber strap (a) under the strap toward center (b), over the top (c) and down through the loop (d). Make sure end points down.
Step 4
Step 5
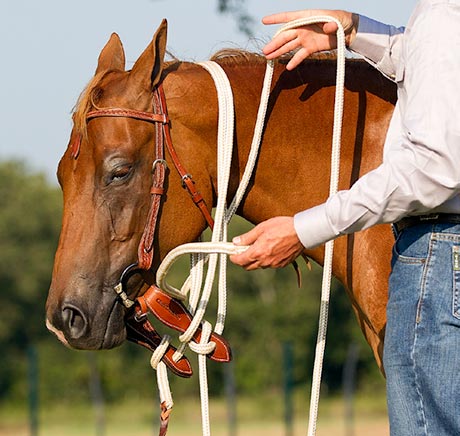
STEP 4: Pull through 10 feet of rope in the middle to form the reins.
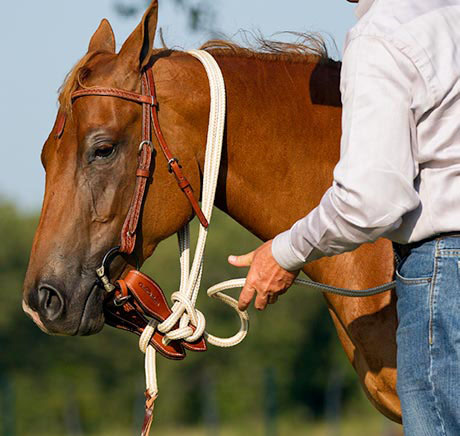
STEP 5: Form a half-hitch with the left rein around the left slobber strap. (Take the long lead rope on the outside of the left slobber strap under the slobber strap towards the center, over the top and down through the loop.) Tighten knots. You will have a long length of rope on the left side.
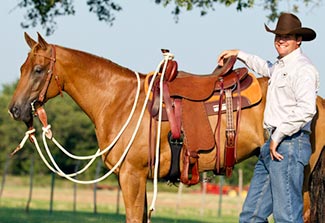
STEP 6: Chin strap should be attached to snaffle ring so that it is between the slobber straps and the bars of the bit. Buckles should face down.
STEP 7: Headstall should be attached to snaffle rings above the slobber straps.
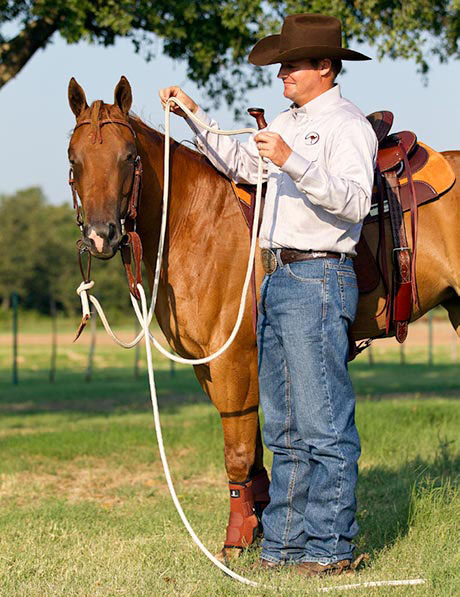
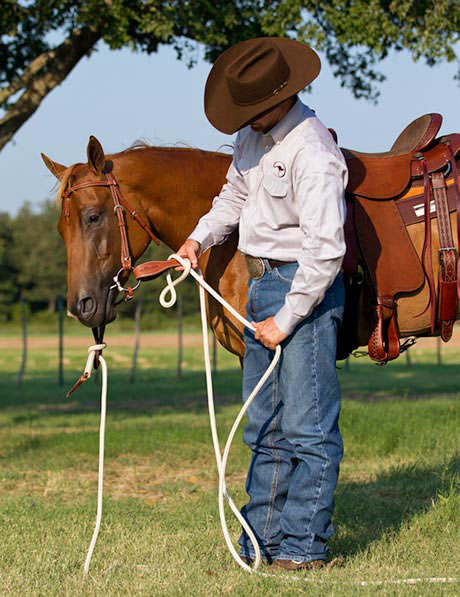
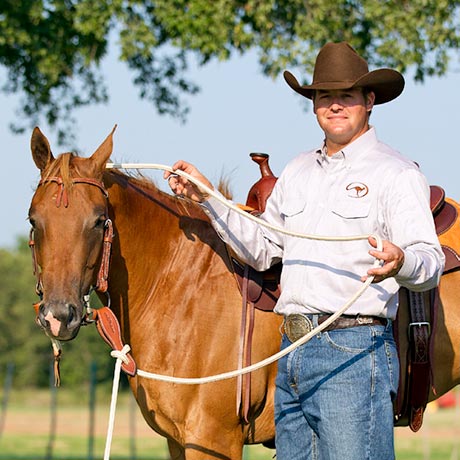
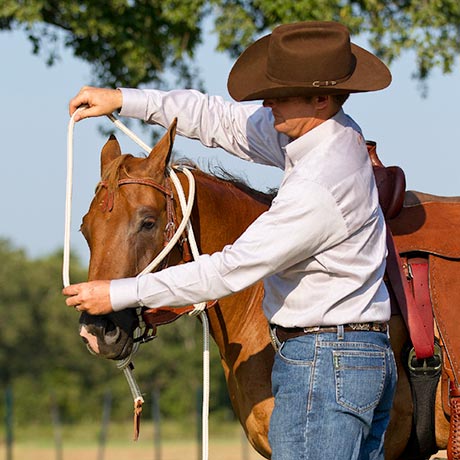
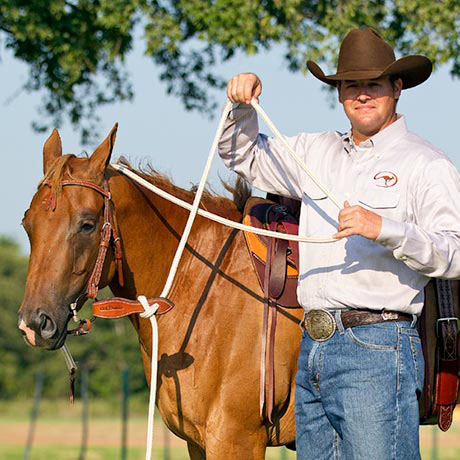
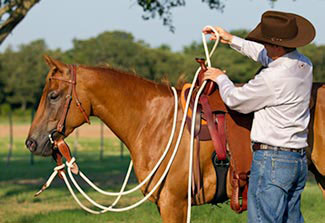
To get the length correct, sit on your horse, hold the middle of the reins and pick up to your sternum bone. When the reins touch your chest, you should be making light contact with the horse’s mouth. This is the correct length. If you pick up to your sternum and there’s still a lot of slack in the reins, it means your reins are too long. If you pick up and make contact with the horse’s mouth before you even get to your sternum, it means your reins are too short.
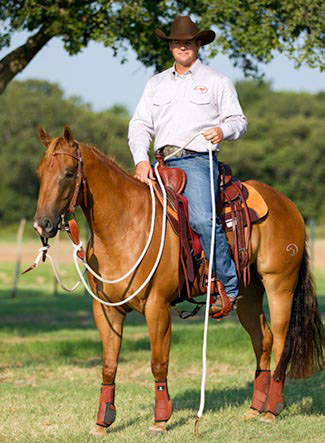
How to Safely Tie with Mecate Reins
1a
1c
1b
1d
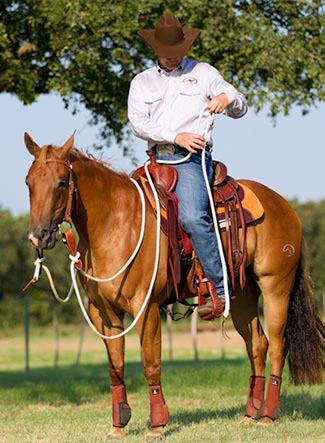
STEP 1: Pull the reins to the left side of horse’s neck (a) and make a figure 8 in the reins (b). Pull the loop over the horse’s head (c), and adjust so that the reins are in four equal lengths (d).
2a
2b
STEP 2: Gather the loops under the horse’s neck. Take the end of your lead rope and go around all four lines. Then tuck the end of the lead rope through itself to form half-hitch (a and b).
STEP 3: Repeat Step 2 to make one more half-hitch. Now you can safely tie your horse, and he will not hurt himself if he pulls back.
AFTER ALL THE STEPS HAVE BEEN COMPLETED:
Be sure that the loops around the horse’s neck are not big enough for a hoof to get through if the horse should lower his head to the ground, nor should the loops be so loose that they are able to come off over the horse’s head. The easiest way to prevent this is to either shorten the reins before you start or simply tie another half-hitch or two to snug it up a bit—not too tight, of course.
WHAT TO DO WITH THE LEAD ROPE END OF THE MECATE:
There are two options of how to secure the lead rope end while riding: You can either tie it around the horn or push it up through your belt loop. To tie it to the horn, you will make a series of half-hitches until the rope hangs down about even with the horse’s knee. This will leave it long enough for you to use the end of it, but short enough to avoid the horse stepping on it.
To use the second option, bring the lead rope around the right side of the pommel of the saddle, then up to your left hip. Make a loop and push it up between your belt and jeans, from the bottom, so that the loop hangs over the top. Always put it past the second keeper of your jeans to keep it from falling out. It will stay in place while riding, but will come out easily if pressure is applied, making it a safe option.
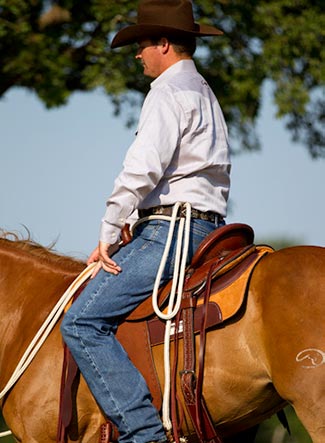
For either option, the slack in the rope should hang down slightly lower than the loop rein, hanging 2 to 3 inches below it. Reason being that you don’t want the lead to hinder the horse’s head if you are flexing to the right when mounted. If the lead is too short, your horse can’t flex far enough because he’ll run into pressure.


Want To Learn More? SIGN UP FOR OUR LOYALTY PROGRAM
Master your horsemanship training through Clinton’s step-by-step method videos by joining the No Worries Club today. Becoming a club member ensures you get VIP pricing on all of Clinton’s must-have training tools and resources. Plus, you’ll enjoy all the phenomenal benefits that come with club membership!