
When it comes to horse-tying situations gone wrong, nothing is as scary as a horse reacting in cross-ties. Ask any experienced horseman about cross-ties and they’ll likely have a war story to tell you about horses being injured (or worse) in cross-ties. As a general rule, I don’t like to use them because it’s too easy for things to go dangerously wrong.

The first thing you must understand about tying your horse up—no matter how he’s being tied—is that he is a prey animal with a flight or fight response. He would always rather run from anything that frightens him rather than hang around and fight the danger. Mother Nature says, “Run! Don’t hang around and think. Thinking is what got your uncle killed by the lions 3,000 years ago.” If he can’t escape, his only option is to fight. He’ll kick, bite, strike or do whatever he can to survive the situation.
Because he is a prey animal, your horse is also claustrophobic by nature. He hates being in tight, narrow spaces or in situations where he can’t move his feet and he feels trapped and confined. He prefers to be in wide, open spaces where he can easily see danger approaching and then have room to run from it. These two things—fear of tight, narrow spaces and the flight instinct—can make teaching a horse to tie a challenge.
Keep in mind that horses by nature aren’t bred to yield to pressure. They’re bred to push into pressure, pull against it and fight it. It’s your job to teach your horse how to yield to pressure and use the thinking side of his brain.
Teaching a Horse to Be Confident
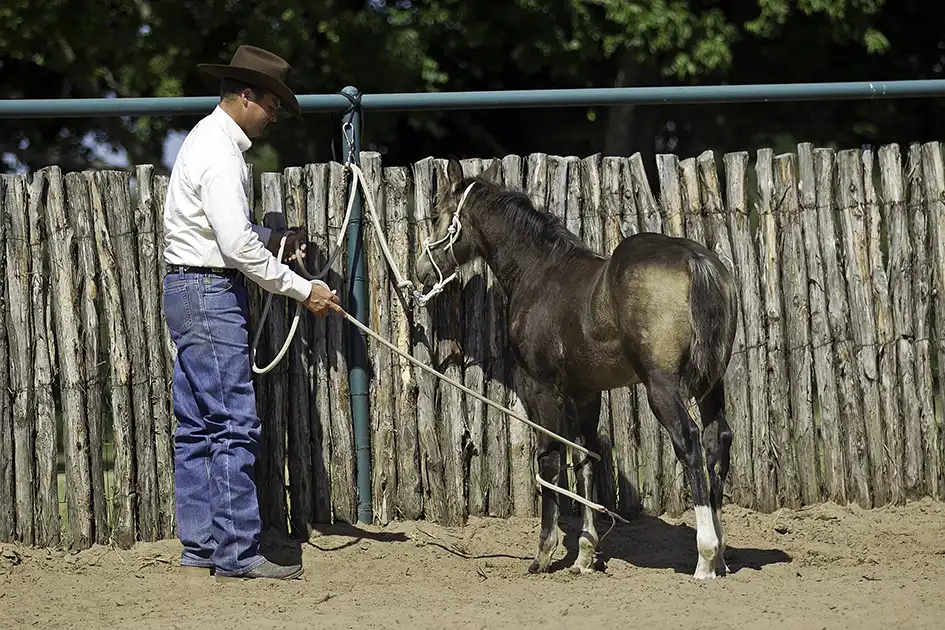
Before teaching a horse how to stand tied up, he has to be prepared for the experience, meaning that he knows how to soften and yield to pressure. I prepare my horses to be tied up by teaching them the Fundamentals groundwork exercises. When I’m confident that the horse understands that when he feels pressure from the halter behind his poll he needs to move forward off of it rather than resist it, then I work on teaching him to tie.
When teaching a horse how to stand quietly while he’s tied up, I always recommend using the Aussie Tie Ring. It’s a great tool that makes tying as safe as possible and teaches a horse to stand calmly because it lets the horse move his feet. While the groundwork and training we do decrease the chances of the horse pulling back and fighting the pressure while tied, they don’t guarantee that he will never pull back. That’s where the tie ring becomes an invaluable training tool. When a horse does pull back on the Aussie Tie Ring, he is able to pull the rope through the ring, and as soon as he stops pulling back, he is instantly rewarded because slack is created in the lead rope. That causes the horse not to panic as much.
If you want your horse to stand quietly, you have to work with him. I start teaching my horses to tie up when they’re foals.
When he’s using the reactive side of his brain, the more the horse pulls against pressure and can’t escape it, the more he wants to fight. When a horse pulls back and is actually able to move his feet, it’s as if he says to himself, “There’s no reason to keep fighting because I’m able to move my feet. There’s no need to feel trapped and claustrophobic.”
That’s the difference between the Aussie Tie Ring and bungee cords, inner tubes and whatever else people use to tie their horses with. The problem with bungee cords or inner tubes is when the horse stops pulling back, he doesn’t receive an instant release of pressure. Instead, he has to go all the way back up to the fence or whatever he’s tied to before there’s any slack in the rope and the pressure behind his ears is taken away. With the tie ring, as soon as he stops pulling, all of the pressure is released. Every time he stops pulling back, he receives a small reward. With the tie ring, horses actually teach themselves not to pull back.
Once a horse has been taught to stand tied using an Aussie Tie Ring, then I tie him up using a Patience Pole. A Patience Pole is a steel pole set in concrete that has a hub at the top. Welded to that is a solid tube that extends down about a foot and has a loop at the end for attaching the horse’s lead rope or a heavy-duty chain. The idea behind a Patience Pole is that if the horse walks around the pole, the hub spins around. So if a horse gets nervous and wants to move, he is free to move his feet, but instead of walking off, he just goes around in circles. After a while, the horse realizes that no matter how much he moves, he’s never, ever going to get anywhere, so he might as well stand still and relax.
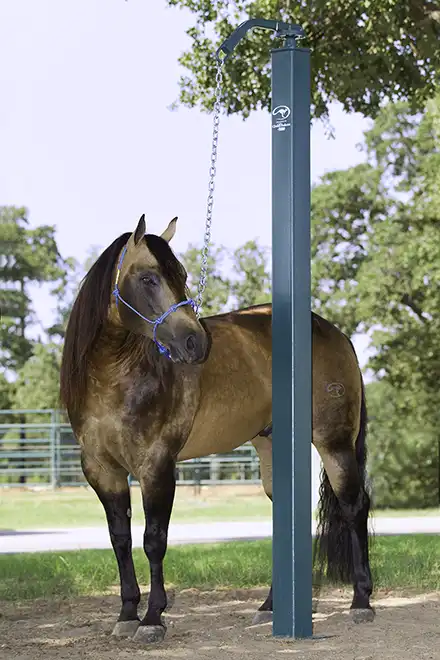
Patience Poles are a safe way to tie a horse up because the horse can still move his feet.
What Makes Cross-Ties Different
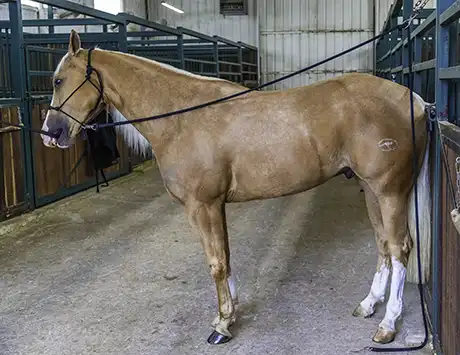
Cross-ties are different from other ways to tie a horse up because instead of there being one pressure point on the horse—the lead rope is connected to the halter or the chain from the Patience Pole is connected to the halter—there are two—one on either side of the halter. In cross-ties, if the horse pulls back he doesn’t ever get a release of pressure.
Sometimes, if the cross-ties are set up poorly, just standing in the center of them puts steady pressure on the horse’s face. There isn’t a place where he can stand with slack in the rope. For a prey animal that doesn’t like being trapped, that can lead to dangerous situations.
When a horse does react in cross-ties, there’s nowhere for him to go to get a release of pressure. If he goes forward, he feels pressure on both sides of his face. If he steps back, he again feels pressure on both sides of his face. What often happens is the horse will get frightened and use the reactive side of his brain and, because he can’t escape the situation, he’ll start fighting the pressure. He often ends up rearing in an attempt to escape the pressure, which causes him to lose his footing or flip over backwards.
That’s why, if I use cross-ties, I make them with Aussie Tie Rings. The tie rings guarantee that if a horse gets reactive, he won’t be trapped by the pressure and feel as if he has to fight it. As soon as he pulls against the pressure, the rope will slide through the ring. When he stops pulling, he gets a release of pressure because slack is created in the lead rope.
When a horse reacts in cross-ties, the situation turns dangerous quickly because there is nowhere he can go to escape pressure.

The only way I’ll use crossties is if I make them using Aussie Tie Rings.
Setting Up Your Cross-Ties
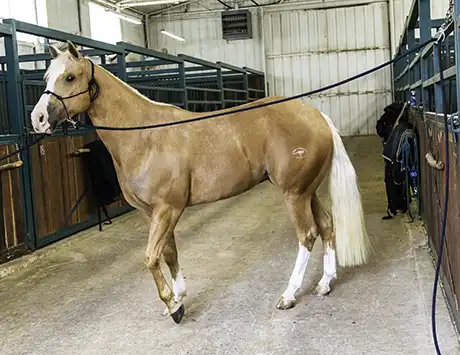
When you cross-tie your horse, you should always do so in a safe environment with good, nonslip flooring. Slick surfaces can create dangerous situations if your horse pulls back and loses his footing. The tie rings should be securely positioned above the horse’s eye level. How high you position the tie rings will depend on how tall your horse is. I use two 14-foot lead ropes to run from the tie rings to the horse’s halter. Before tying your horse in the cross-ties, be sure to set the lead ropes to the correct length. The snaps should just barely touch each other when brought together in the middle. If they’re too long, the horse will get tangled up in the rope, and if they’re too short, he’ll have constant pressure on his face and won’t be able to stand comfortably.
What Your Horse Should Know First
Before you tie a horse in cross-ties, he should know how to yield and soften to pressure and be able to stand tied for long periods of time—using an Aussie Tie Ring or on a Patience Pole—without making a fuss.
The best way to teach a horse to tie well is to practice tying him up. I tie my horses for at least three to four hours a day, every day. It doesn’t matter if they’re good, bad or indifferent about being tied up, they all get tied up.
I wouldn’t tie a horse up in cross-ties that did not know all of the Fundamentals groundwork exercises. If a horse can do all of the exercises in the Fundamentals Series, it means that he knows how to use the thinking side of his brain and understands that when he feels pressure behind his poll he needs to step forward off of it.
Heading Off Bad Behavior
If you’ve done your homework and properly prepared your horse to stand confidently in cross-ties, he shouldn’t be misbehaving when you use them. If he is, it’s a big red flag that you haven’t prepared him properly and need to fill in the holes in his training. With that being said, minor issues crop up from time to time. The most common problems people approach me with are the horse being impatient and pawing or getting nervous or scared of activity or an object around him.
Pawing and Getting Antsy in Cross-Ties
Horses that paw in cross-ties or constantly fidget— twisting their bodies from side to side and biting on the ropes—generally do so because they have an abundance of energy. Usually, it’s the horse that was brought out of the stall and put in the cross-ties so that his owner can groom him and saddle him for a training session. He’s been cooped up in the stall and hasn’t been turned out and he’s pawing because he’s anticipating getting out of the barn.
Instead of taking the horse straight out of the stall and putting him in cross-ties, move his feet first and get him to use the thinking side of his brain. Because you’re likely in a barn, you’ll do low-impact exercises that allow you to move the horse’s feet in a restricted area. Back your horse up and down the barn aisle with energy in his feet. Yield his hindquarters. Then ask him to yield his forequarters. When he’s tuned in to you, back him up into position with the cross-ties and tie him up.
If your horse paws, fidgets, turns sideways or nibbles on the cross-tie ropes, he’s telling you that he’s got an excess of energy. Go put his feet to work.
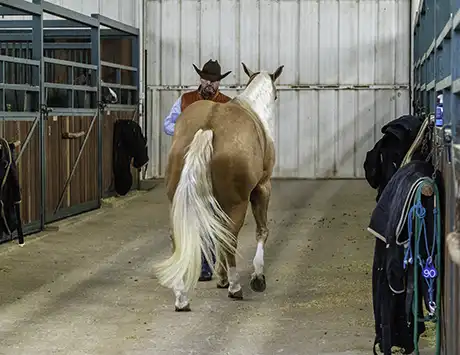
Back your horse down the barn aisle.
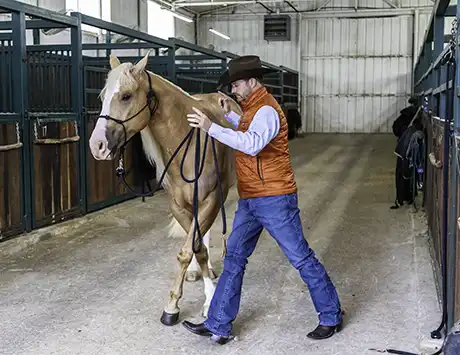
Yield his forequarters.
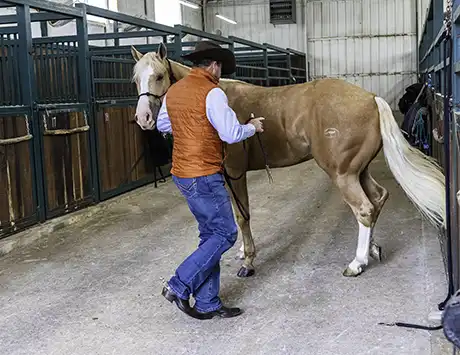
Yield his hindquarters.

Send him in and…

…out of his stall a few times.
Hustle his feet in the stall, yielding his hindquarters.
More than likely, getting the “fresh” off the horse will solve the problem. However, if he starts to paw or fidget in the cross-ties, immediately take him out of the crossties and put his feet to work again. When you put him to work, you have to do so with urgency. If you let him shuffle his feet and stop and visit with the horses in the stalls next to the aisle, you’ll be wasting your time. You need to make it clear that pawing and fidgeting in the cross-ties will result in work.
You want to make the cross-ties look like the easy part of the day. At the cross-ties, he gets to stand still and relax. When he’s off the cross-ties, he has to hustle his feet and sweat. It won’t take long for your horse to realize that it’s a much better deal to stand quietly at the cross-ties.
It’s the exact same concept we use when teaching a horse to crave being on a trailer. We hustle his feet outside of the trailer and then let him stand still and relax inside of it. Before long, the horse is practically dragging us to get on the trailer.
Listen to Clinton explain how to handle common cross-tie problems in the Problem Solving video series. Access the “Cross-Tie Problems” video by logging on to the No Worries Club website and going to the video section or on the Downunder Horsemanship app.
Nervous About a Nearby Object
Sometimes horses will get anxious about activity going on around them or a strange object nearby while they’re in the cross-ties. This can be especially true if you’ve taken your horse off your property to another location. Whenever your horse is frightened or nervous about something, he’s using the reactive side of his brain. You need to get him to use the thinking side of his brain and you do that by moving his feet forwards, backwards, left and right and rewarding the slightest try.
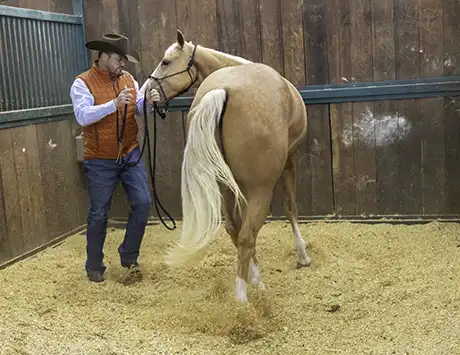
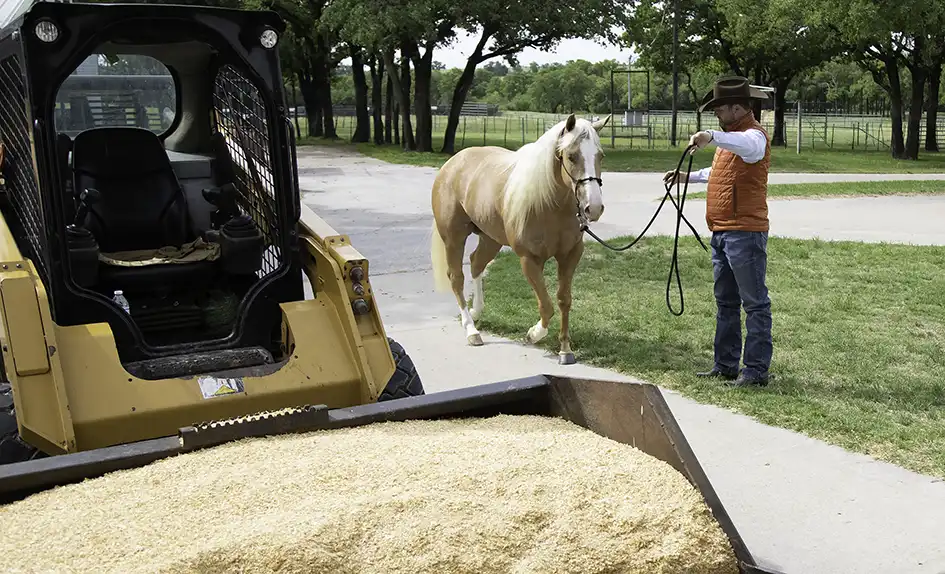
My go-to solution in this situation is the Sending Exercise from the Fundamentals Kit. Take your horse off the cross-ties and get him as close as you can to whatever is causing him to react. Maybe it’s a donkey in a nearby pasture, an ATV idling outside the barn, a group of kids playing on a swing set … it doesn’t matter what the object is, just that you get your horse off the crossties and start moving his feet.
Your end goal will be to send the horse between you and the object in a 4-foot gap. However, where you initially begin isn’t important; what is important is that you establish a starting point you can build off of. So, depending on how scared of the object your horse is, you may initially be 20 feet away from the object, and that’s OK. You’ll gradually work your horse closer to the object until he can walk calmly between you and it in a 4-foot gap.
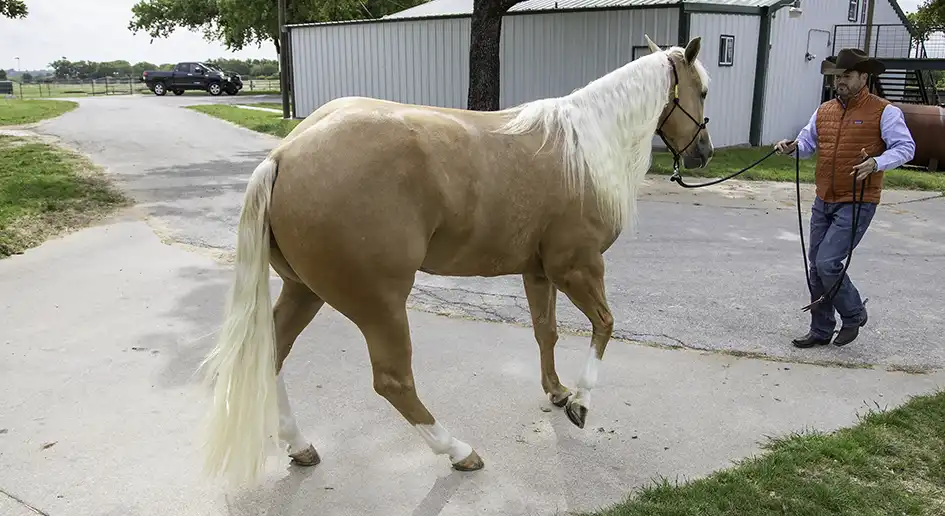
Practice sending the horse between you and the object until he walks through the gap with a relaxed attitude. If he’s worried about the object and races past it, continue sending him back and forth in front of it until he walks calmly through the gap and uses the thinking side of his brain.
When he’s confident around the object and no longer worried about it, you’re safe to put him back on the cross-ties. If the object is something that’s new to your horse’s environment, you may have to practice the Sending Exercise next to the object for a few days in a row when you first bring your horse to the cross-ties. Each day, you’ll have to reinforce to him that the object is nothing to be worried about. After a few repetitions, you’ll have built his confidence and he will no longer be worried about it.
The bottom line when dealing with either problem is anytime your horse is using the reactive side of his brain, you’ve got energy and fuel in his feet that you don’t want. Take that energy and do something constructive with it. Put him to work and give him a job to do.
Cross-Ties Are Not a Training Tool
While I’m a huge believer in tying a horse up to the “tree or post of knowledge” after a training session to teach the horse to stand quietly while tied up, I only do so using a Patience Pole or the Aussie Tie Ring. You’d never want to leave a horse cross-tied for any length of time unattended because if he’d react to something and pull back, he’d keep fighting the pressure until he got injured or broke the cross-ties. Look at cross-ties as an instrument that can be used to work around your horse, not a training tool to use to teach your horse to stand quietly while tied up.
If your horse is scared of an object, practice the Sending Exercise around it until he gains confidence about it.
When your horse is using the thinking side of his brain, back him into the barn and put him on the cross-ties again.


Master Your horsemanship Skills
Like these tips? Join the No Worries Club and hone your skills with thousands of hours of Clinton’s easy, step-by-step method horse training videos.