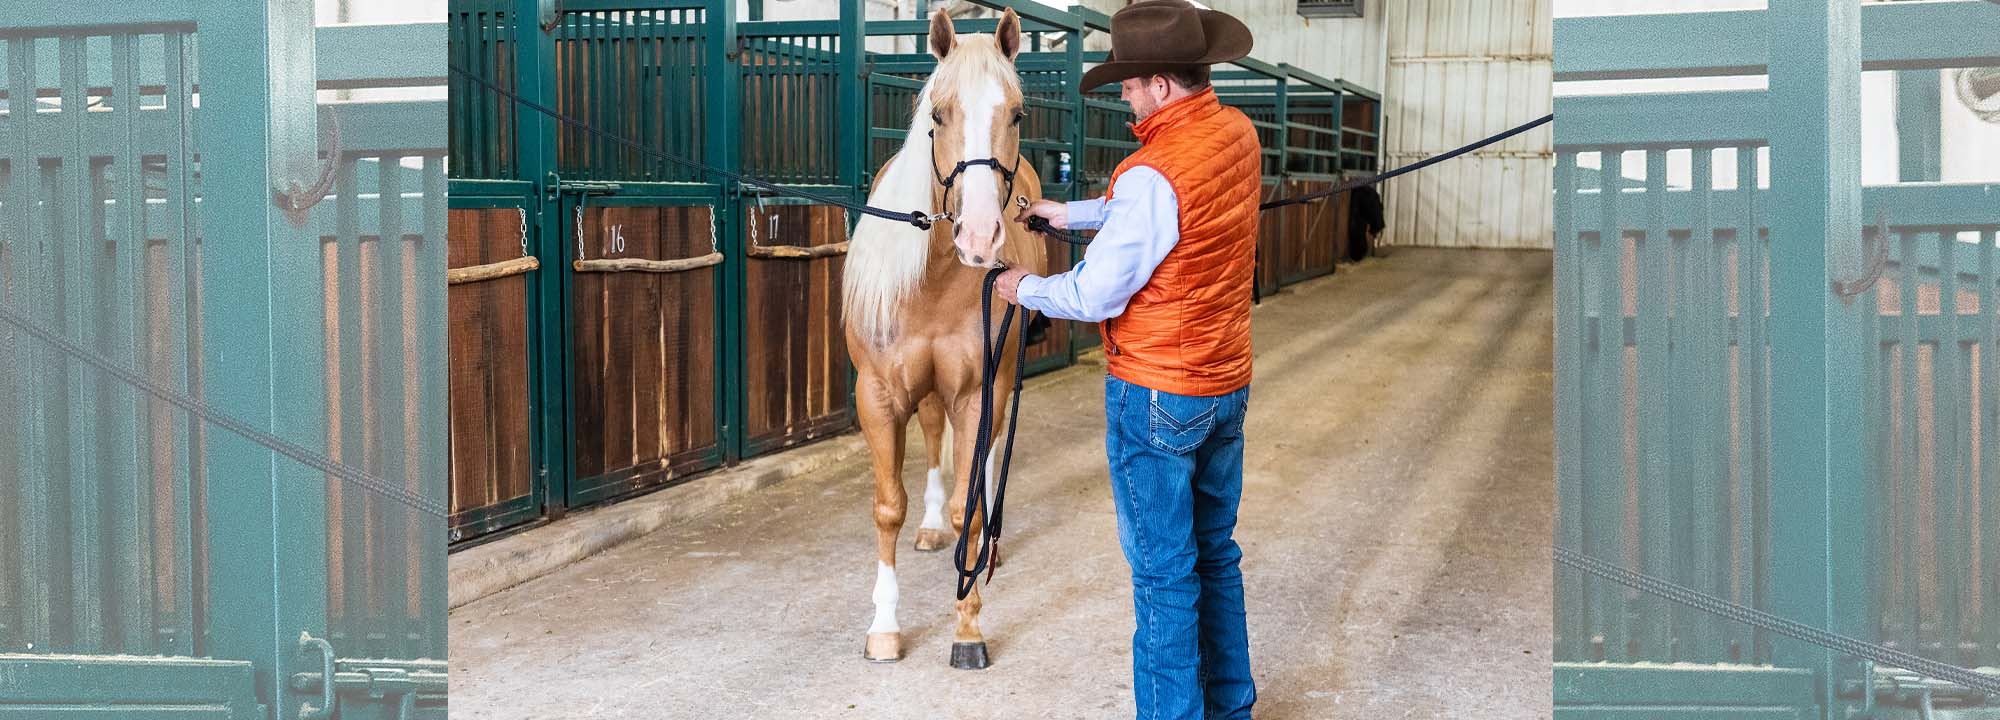
Cross-ties are different from other ways to tie a horse up because instead of there being one pressure point on the horse—the lead rope is connected to the halter or the chain from the Patience Pole is connected to the halter—there are two—one on either side of the halter. In cross-ties, if the horse pulls back he doesn’t ever get a release of pressure.
Sometimes, if the cross-ties are set up poorly, just standing in the center of them puts steady pressure on the horse’s face. There isn’t a place where he can stand with slack in the rope. For a prey animal that doesn’t like being trapped, that can lead to dangerous situations.
When a horse does react in cross-ties, there’s nowhere for him to go to get a release of pressure. If he goes forward, he feels pressure on both sides of his face. If he steps back, he again feels pressure on both sides of his face. What often happens is the horse will get frightened and use the reactive side of his brain and, because he can’t escape the situation, he’ll start fighting the pressure. He often ends up rearing in an attempt to escape the pressure, which causes him to lose his footing or flip over backwards.
That’s why, if I use cross-ties, I make them with Aussie Tie Rings. The tie rings guarantee that if a horse gets reactive, he won’t be trapped by the pressure and feel as if he has to fight it. As soon as he pulls against the pressure, the rope will slide through the ring. When he stops pulling, he gets a release of pressure because slack is created in the lead rope.
When you cross-tie your horse, you should always do so in a safe environment with good, nonslip flooring. Slick surfaces can create dangerous situations if your horse pulls back and loses his footing. The tie rings should be securely positioned above the horse’s eye level. How high you position the tie rings will depend on how tall your horse is. I use two 14-foot lead ropes to run from the tie rings to the horse’s halter.
Before tying your horse in the cross-ties, be sure to set the lead ropes to the correct length. The snaps should just barely touch each other when brought together in the middle. If they’re too long, the horse will get tangled up in the rope, and if they’re too short, he’ll have constant pressure on his face and won’t be able to stand comfortably.
Before you tie a horse in cross-ties, he should know how to yield and soften to pressure and be able to stand tied for long periods of time—using an Aussie Tie Ring or on a Patience Pole—without making a fuss.
The best way to teach a horse to tie well is to practice tying him up. I tie my horses for at least three to four hours a day, every day. It doesn’t matter if they’re good, bad or indifferent about being tied up, they all get tied up.
I wouldn’t tie a horse up in cross-ties that did not know all of the Fundamentals groundwork exercises. If a horse can do all of the exercises in the Fundamentals Series, it means that he knows how to use the thinking side of his brain and understands that when he feels pressure
Have a horsemanship question or looking for more training tips? Check out the No Worries Club.


